What is Two-Factor Authentication (2FA)? Hodlnaut's 2FA Explained

The security of your funds is of utmost importance to us, which is why we have implemented various measures to ensure all assets are safe and secured. One way we do this is through two-factor authentication (2FA) to prevent any potential hacks and scams.
To ensure a high level of security, users would have to undergo several steps associated with setting up 2FA to verify their identity. If you’re unsure of these steps, we're here to help.
In this guide, we will cover the following:
- What is 2FA
- Why is 2FA Important
- A Step-by-Step Guide to Setting up 2FA on the iOS Mobile App
- A Step-by-Step Guide to Setting up 2FA on the Website
- Troubleshooting when 2FA is Invalid
- Resetting 2FA
What is 2FA?
Two-factor authentication (2FA) is known to be one of the most commonly used methods of security to reduce any potential risks of users falling victim to an account takeover. 2FA is ideal as it complements many traditional forms of authentication like passwords to ensure accounts are protected.
As its name suggests, 2FA requires two different types of authentication for a user to be allowed access to their account.
Why is 2FA Important?
The fact is, having passwords alone is not enough of a security measure to protect your account. Reports have shown that 65% of individuals use the same passwords for multiple accounts. This would mean that if a hacker gets access to your password, he will gain access to all the accounts with the same password.
Having 2FA in place would add an additional layer of security. This would mean that even though a hacker does gain access to your password, it would not lead to an account takeover since the chances of having access to both factors are improbable.
This is why Hodlnaut has put in place 2FA to ensure that users’ accounts are well secured and protected, preventing any potential hacks and account takeover.
A Step-by-Step Guide to Setting up 2FA
If you’re unsure of how to set up 2FA on your Hodlnaut account, here’s a simple step-by-step guide to help you through the process.
On the iOS Mobile App
1. Log in to Your Hodlnaut Account and Click on Verify Profile
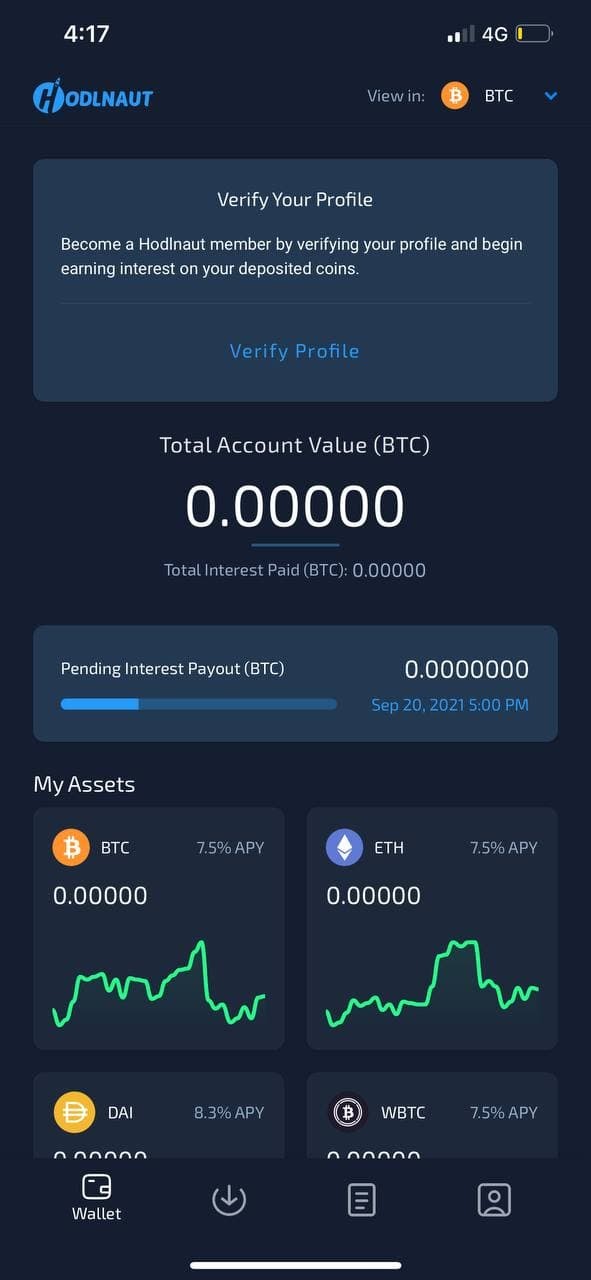
Once you are logged in, click on Verify Profile at the top of the dashboard. You will then be redirected to a page to enable your 2FA.
2. Click on “Click Here to Copy Key”

Here, tap on the “Click here to copy key” button.
3. Download the Google Authenticator Application to Retrieve Your Code
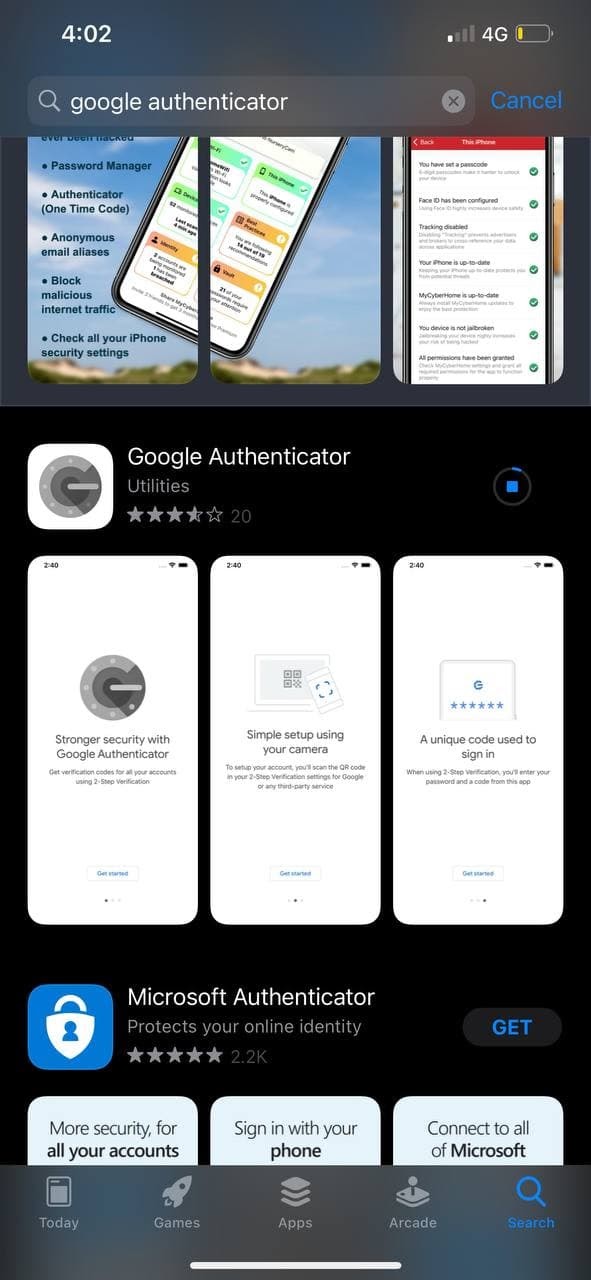
Once done, head over to Google Authenticator (or any other authenticator applications). If you do not have the application, you can download it from the Apple App Store, as seen in the image above.
Though we only mentioned Google Authenticator here, other authenticator applications such as Authy can be used. It’s up to your preference!
4. Click on “Enter a Setup Key” on Google Authenticator
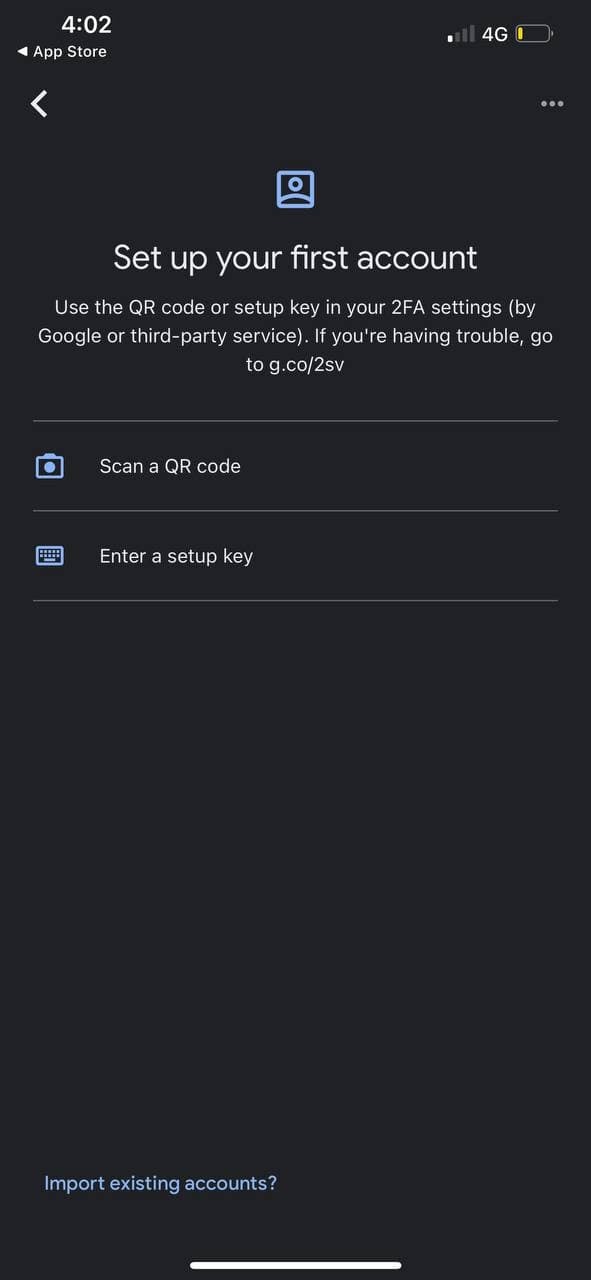
Once you have downloaded Google Authenticator, click on “Enter a setup key”.
5. Fill up Your Details on Google Authenticator
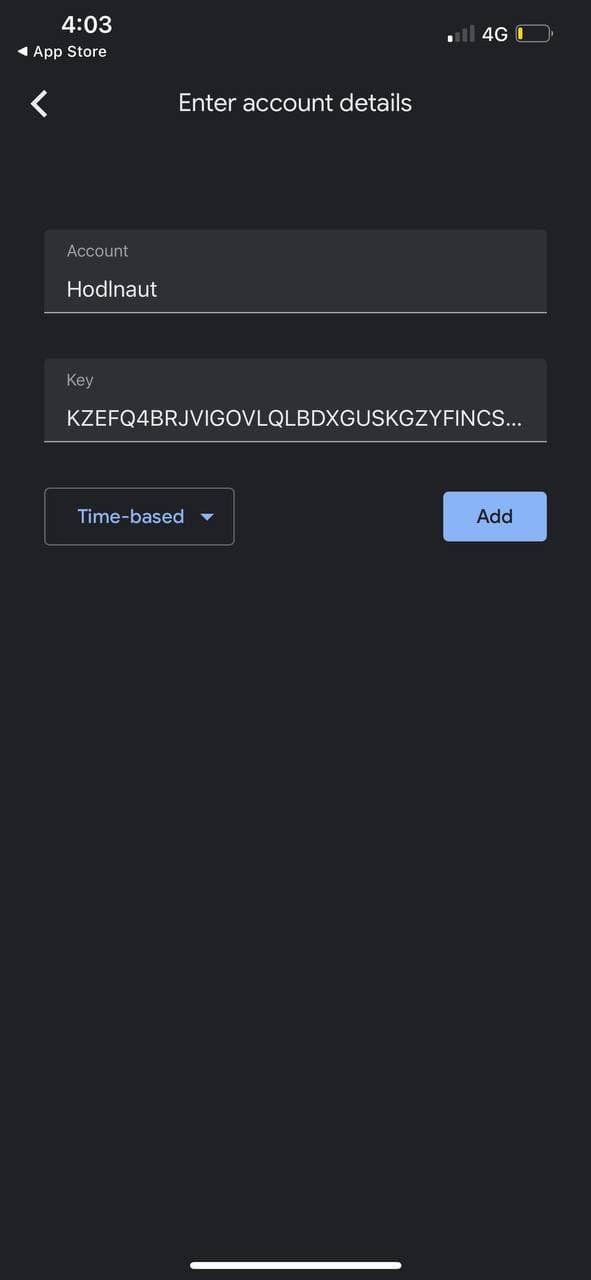
Thereafter, fill up the Account tab as Hodlnaut and paste the copied key to “Key”. Once done, click on Add.
6. Retrieve the Auto-Generated Code
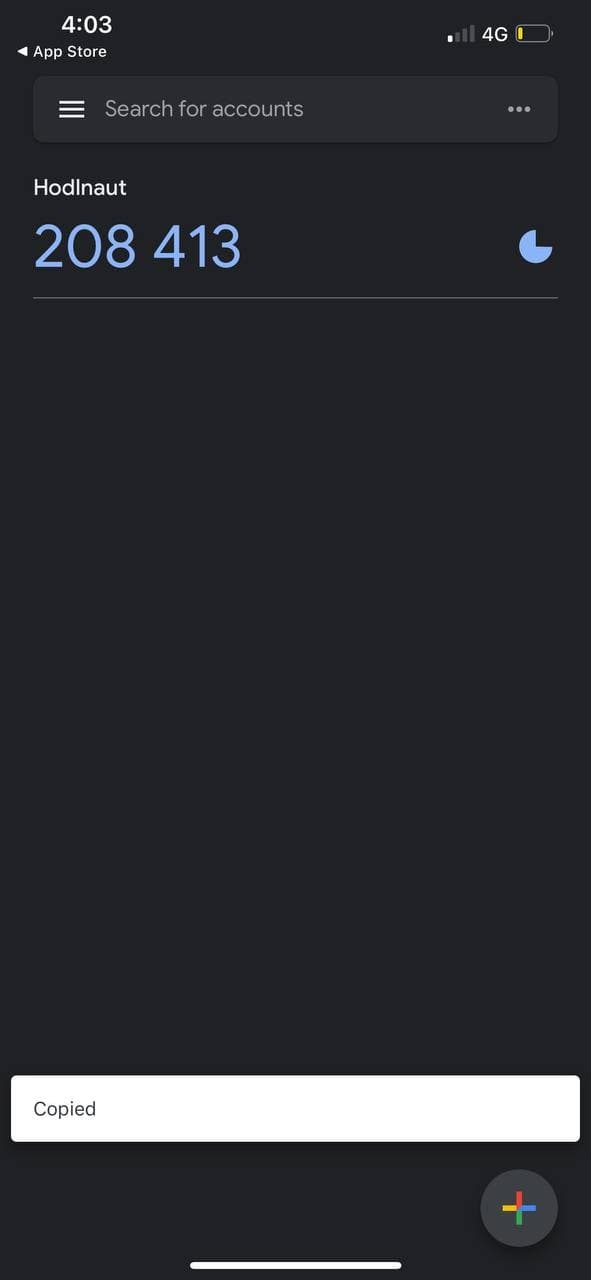
A code will then be generated, and you would be required to copy the said code for Hodlnaut by tapping on it, as seen in the image above. Do note that the code is time-based and thus, will expire every 30 seconds.
7. Paste the Code and You’re Done!
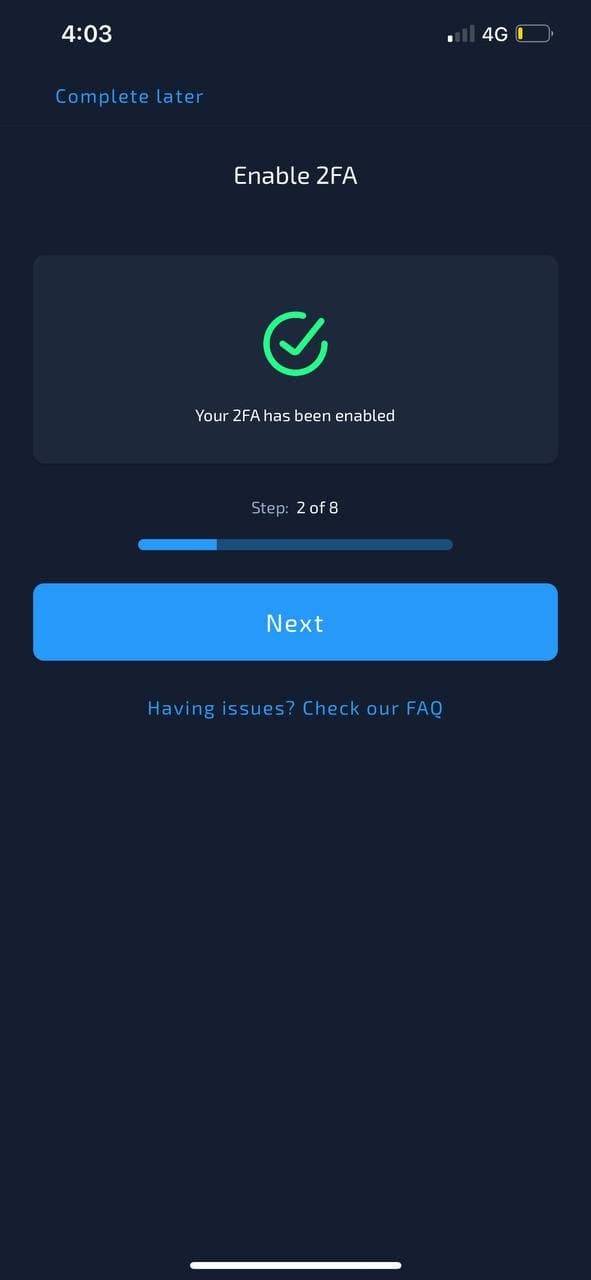
Head back to the Hodlnaut app and the pin will be pasted automatically. You will then be reverted to the screen as seen above and your 2FA is enabled!
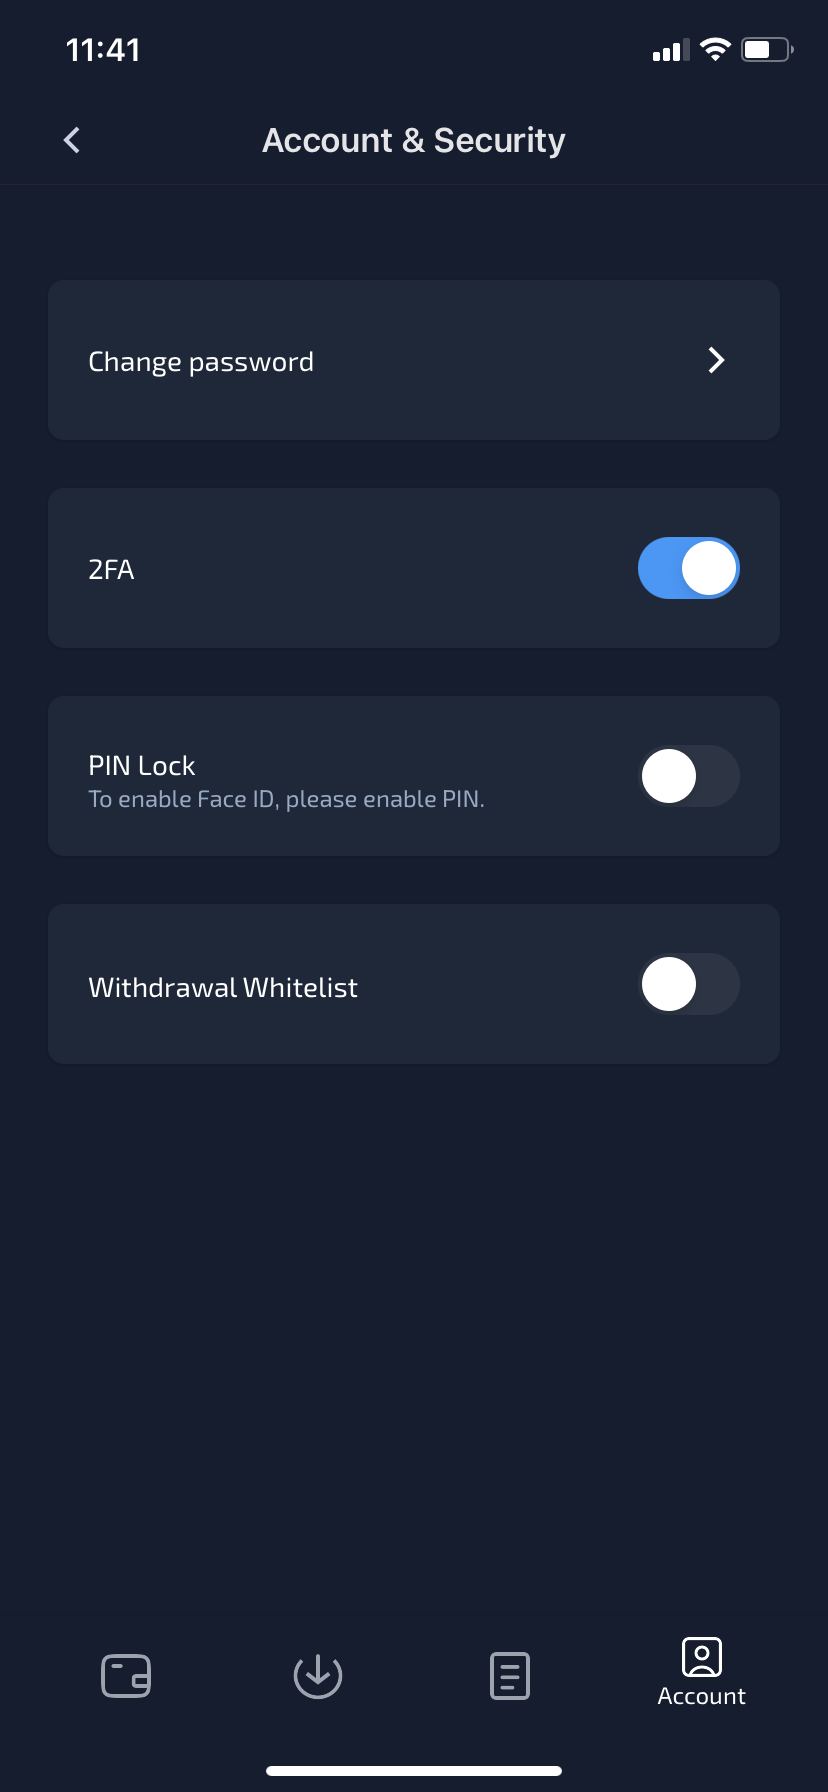
After you have completed these steps, you can head over to Account & Security. You should see 2FA enabled.
8. Check Your Inbox for an Email Confirmation
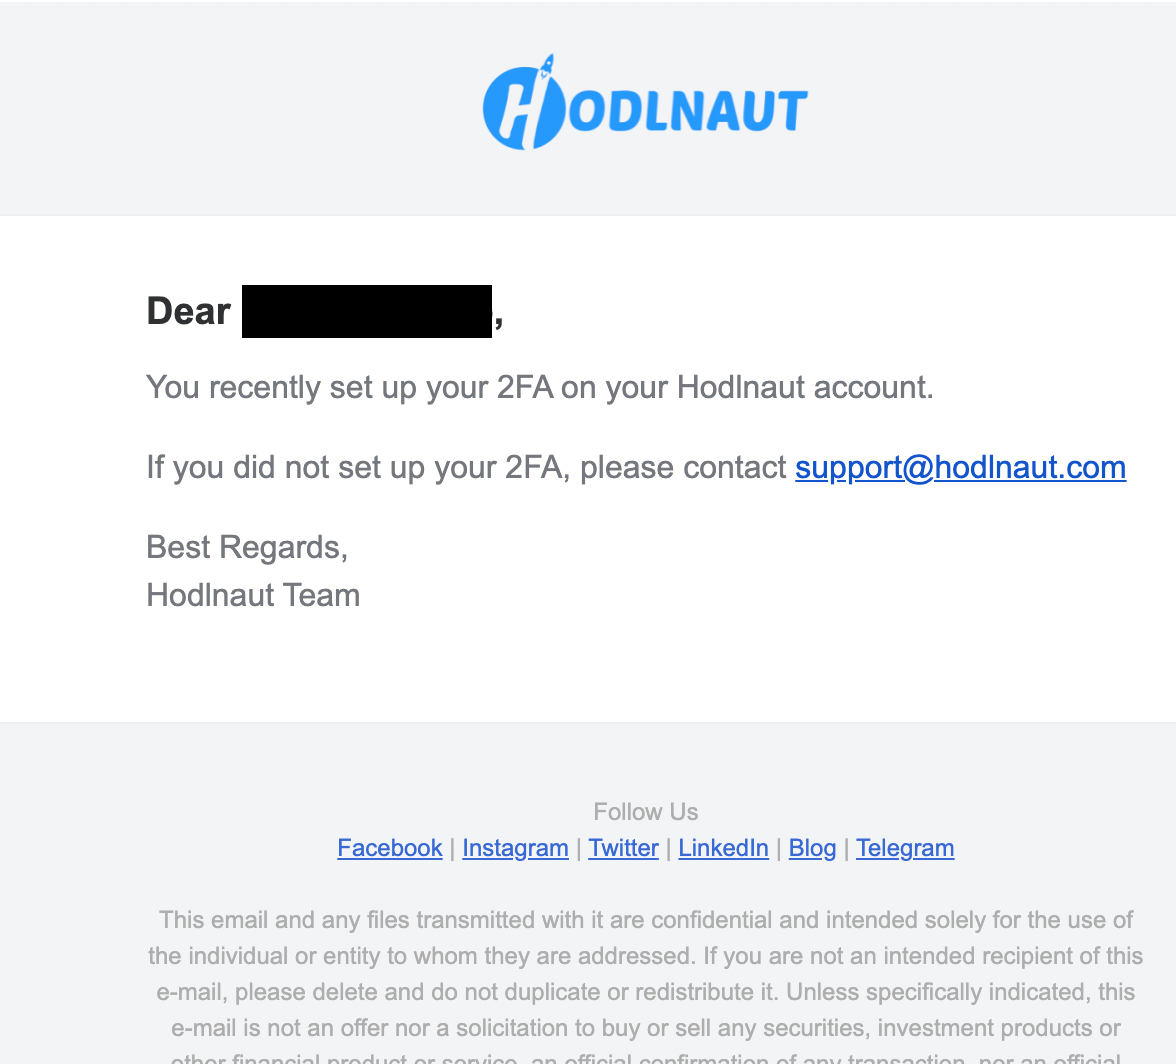
When you have successfully set up your 2FA, you will also receive a confirmation email, as seen in the image above, from Hodlnaut alerting you on this.
On the Website
1. Log in to Your Hodlnaut Account and Click on Enable 2FA


Once you click on Enable 2FA, you will receive a QR code as shown in the image above.
2. Download the Google Authenticator Application to Retrieve Your Code
Next, head over to Google Authenticator (or any other authenticator applications). If you do not have the application, you can download it from the Apple App Store as seen in the image above.
Though we only mentioned Google Authenticator here, there are other authenticator applications such as Authy that can be used. It’s up to your preference!
3. Use Google Authenticator to Scan the QR Code
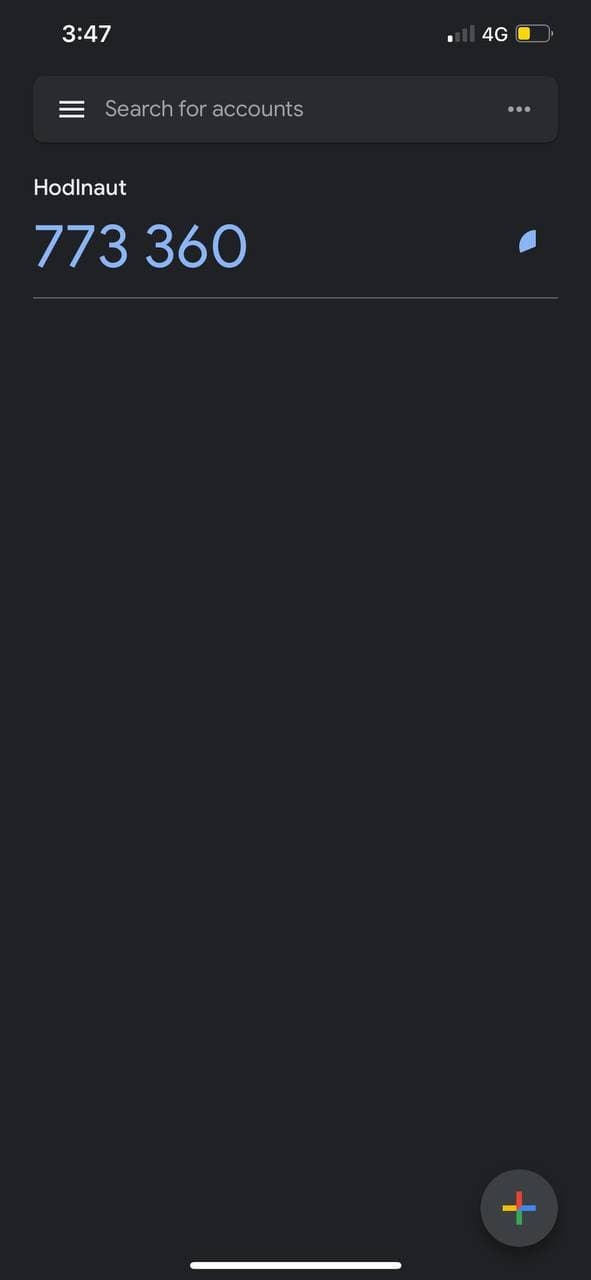
Once you have opened the Google Authenticator application, you will be reverted to this page. Tap on the “+” sign on the bottom right.
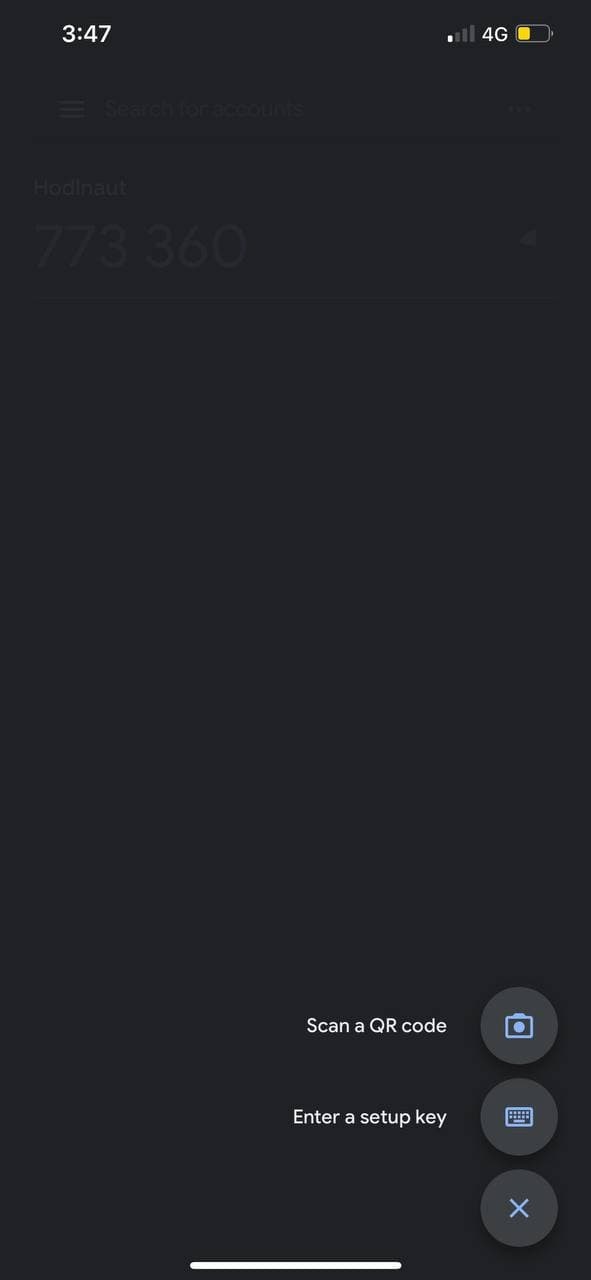
Thereafter, click on “Scan a QR Code”.
4. Fill up Your Details on Google Authenticator
After scanning the QR code, the details on the Account and Key tabs would be automatically filled up. Once done, click on Add.
5. Retrieve the Auto-Generated Code
A code will then be generated and you would be required to copy the said code for Hodlnaut, as seen in the image above. Do note that the code is time-based and thus, will expire every 30 seconds.
6. Copy the Code and You’re Done!
After retrieving the code from Google Authenticator (or any authenticator app you’re using), return to your Hodlnaut account to input the code. Once done, your 2FA will be enabled!
7. Check Your Inbox for an Email Confirmation
When you have successfully set up your 2FA, you will also receive a confirmation email, as seen in the image above, from Hodlnaut alerting you on this.
Troubleshooting When 2FA is Invalid
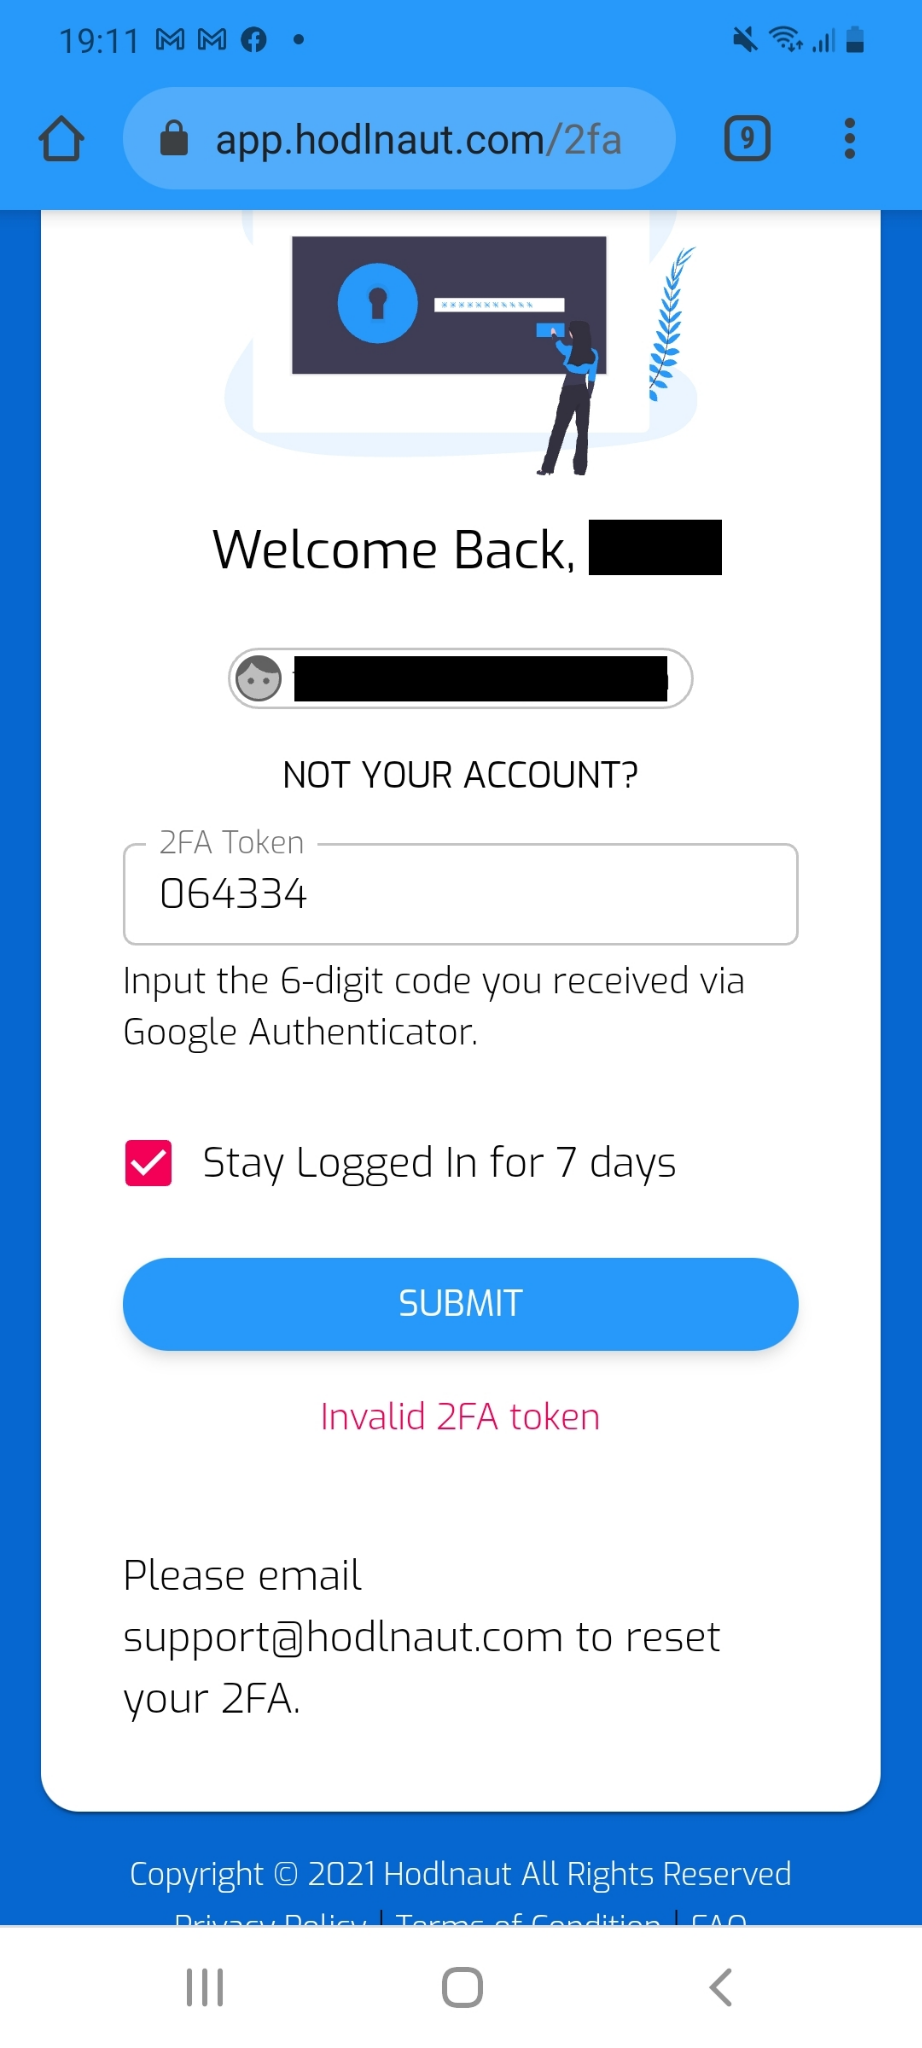
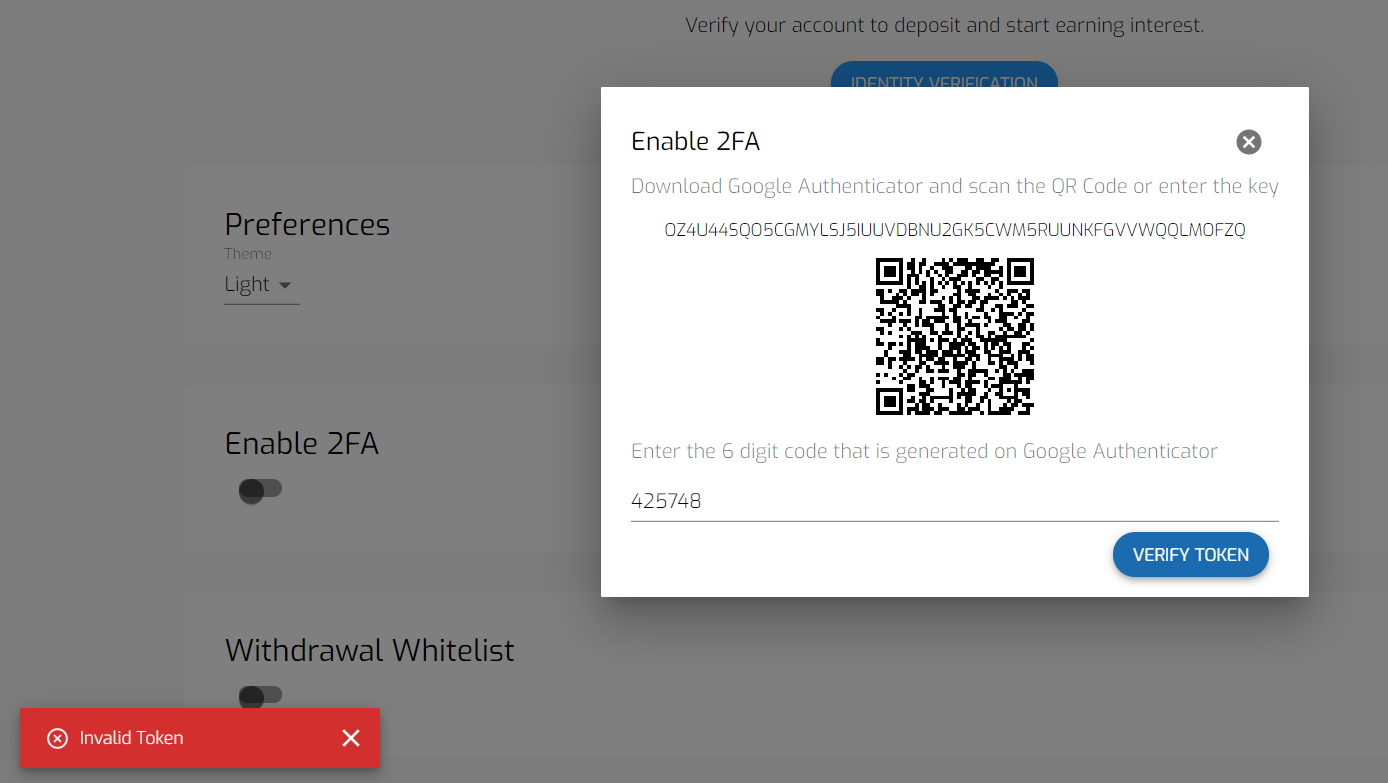
At times, your 2FA may be invalid as seen in the images above. This issue may occur due to the inaccurate generation of the 2FA code. To solve this, there are several options to consider.
Manual time settings and offline devices tend to slip out of sync, which will hinder the successful generation of correct 2FA codes. If your phone's time is out of sync, or if you have changed time zones, the best way to fix it is to change the time settings on your phone from "Manual" to "Automatic".
To Change Time Settings from 'Manual' to 'Automatic' (iOS):
- Go to your phone’s Settings app
- Select General
- Select Date & Time
- Enable Set Automatically
To Change Time Settings from 'Manual' to 'Automatic' (Android):
- Go to your phone’s Settings app
- Select General Management
- Select Date & Time
- Enable Automatic date and time
If your system time is already set to automatic, please disable and re-enable it.
However, if you are on Android and the first solution did not work for you, this might be because the time on your Google Authenticator app is not synced correctly.
When Your Google Authenticator Codes are not Working (Android):
To make sure that you have the correct time:
- Go to the main menu on the Google Authenticator app
- Tap on More and click on Settings
- Tap on Time correction for codes
- Tap on Sync now
On the next screen, the app will confirm that the time has been synced, and you should now be able to use your verification codes to sign in. The sync will only affect the internal time of your Google Authenticator app and will not change your device’s Date & Time settings.
Resetting of 2FA
If you have tried to troubleshoot but the 2FA code is still invalid, here are the steps to take to help you reset your 2FA. Do note that this can be done through the website as well as the iOS and Android mobile applications.
1. Log in to your Hodlnaut account

To start resetting your 2FA, log into your Hodlnaut account by entering your email address. Next, click on “Continue”.
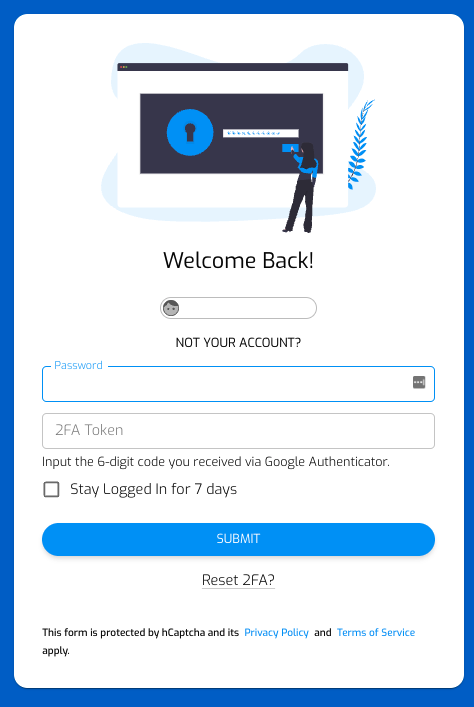
Thereafter, you will notice a “Reset 2FA?” button on the bottom of the page, below the Submit button.
2. Click on Reset 2FA
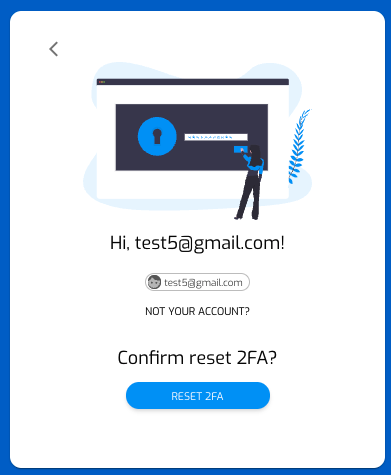
Next, click on the Reset 2FA button and you will be directed to the page as shown above. Confirm the action by tapping on the Reset 2FA button.
3. Respond to the email with the necessary information

After you have confirmed the action, an email will be sent to your registered email address. Thereafter, follow the instructions as stated in the email to reset your 2FA.
If you have any trouble resetting your 2FA, do drop us an email at support@hodlnaut.com. We will be glad to assist you in getting your 2FA up and running again!
Disclaimer: By using Hodlnaut, users expressly acknowledge and agree to the Terms of Use listed on our website at www.hodlnaut.com. This includes the relevant risk warnings applicable to you as a user of Hodlnaut's services, prior to/when carrying out Digital Payment Token (DPT) transactions. This article is for informational purposes only, and is not an offer nor a solicitation to invest in DPT, securities, funds, partnership interests or other investments or funding or purchasing loans. It is the user's sole responsibility to conduct due diligence and research extensively into each DPT and platform, and understand that the volatility and unpredictability of the price of DPT may result in significant loss over a short period of time. No information on Hodlnaut should be considered to be business, legal, financial or tax advice regarding the use of Hodlnaut. Users should consult their own legal, financial, tax or other professional advisors before using Hodlnaut. Please refer to our website at https://www.hodlnaut.com/tos for the full Terms of Use.


